
Focusing
The focus speed of this lens is … completely dependent on how fast you can turn the manual focus ring.
As already noted, this is a manual focusing lens – autofocus is not available.
While MF-only simplifies a lens from a design and construction (and testing) standpoints, it limits the lens’ usefulness for certain applications.
Most will find focusing a 135mm lens at f/2 using the viewfinder to be challenging (and viewing the results will likely be frustrating) – at least if not using a viewfinder MF aid such as a split prism.
While some versions of this lens include a focus confirmation chip, I do not find DSLR focus confirmation lights to be accurate enough to count on for manual focusing.
Fully zoomed Live View manual focusing or the equivalent (such as using a tethered laptop) is the ideal way to focus this lens.
Of primary importance in a MF-only lens is the manual focus ring.
The Samyang 135mm f/2 Lens’ MF ring features a significantly long 200° of rotation, making very precise focusing easy.
This lens is very easy to precisely focus at minimum focus distance and also at infinity.
The focus ring is slightly stiffer than I would prefer, but it is smooth with no play.
Focus distances are printed on the focus ring (in both ft and m) and a DOF scale covering f/11 and narrower apertures is provided.
The MFD (Minimum Focus Distance) and most-infinite (past infinity focus usually) focusing distances are hard stops, making focus setting marks repeatable.
Subjects change size modestly over the focus distance range, especially over the closer distance range.
I’ve already talked about the focus shift issue, but I’ll share an example with you, hopefully clarifying what is happening.
![]()
f/2.0 |
f/2.8 |
f/4.0 |
f/5.6 |
f/8.0
In the f/2 example, we see the plane of sharp focus running through the Datacolor SpyderLensCal’s «0» line.
As the aperture is stopped down, the center of the plane moves backward slightly, effectively shifting the focus distance rearward.
Samyang does not publish the MM (Maximum Magnification) spec for this lens, but some observations can help us get close to that value.
First, the Samyang 135mm f/2 Lens shares a 31.5″ (800mm) MFD (Minimum Focus Distance) spec with the Zeiss 135mm f/2 Lens.
The Zeiss precisely frames our test target from a slightly longer distance than the Samyang (though this difference may not necessarily be reflected at MFD).
Still, with the Zeiss having a 0.25x MM spec, we can guess that the Samyang has a close-to-that spec.
And, that is a nice number for a non-macro lens.
Here a comparison table showing the MFD and MM specs of similarly-spec’d lenses along with a set of 135mm-covering f/2.8 zooms.
| Model | MFD | MM | |
| Canon EF 135mm f/2L USM Lens | 35.4″ | (900mm) | 0.19x |
| Nikon 135mm f/2D AF DC Lens | 48.0″ | (1220mm) | 0.14x |
| Samyang 135mm f/2 ED UMC Lens | 31.5″ | (800mm) | n/a |
| Zeiss 135mm f/2.0 Apo Sonnar T* Lens | 31.5″ | (800mm) | 0.25x |
| Canon EF 70-200mm f/2.8L IS II USM Lens | 47.2″ | (1200mm) | 0.21x |
| Nikon 70-200mm f/2.8G AF-S VR II Lens | 55.1″ | (1400mm) | 0.12x |
| Sigma 70-200mm f/2.8 EX DG OS HSM Lens | 55.1″ | (1400mm) | 0.13x |
| Tamron 70-200mm f/2.8 Di VC USD Lens | 51.2″ | (1300mm) | 0.13x |
The wildflower images shown in the two aperture comparisons presented above are examples of this lens’ MFD and MM capabilities.
The pictured flowers measure about 3″ (76mm).
While not a macro lens, this lens and the background blur it can create can certainly be used for flower photography.
To reduce the MFD and thereby increase the MM, mount an extension tube behind this lens.
Infinity and long distance focusing are sacrificed with an ET in use.
![]()
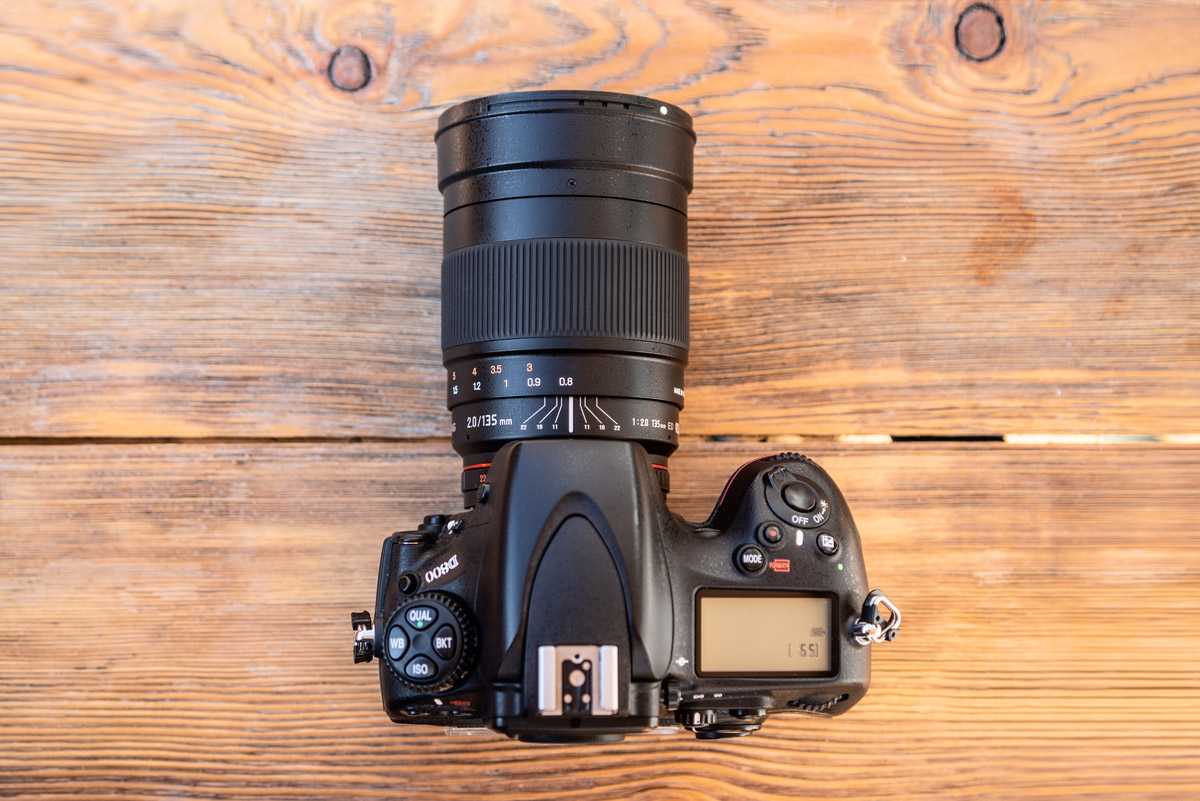
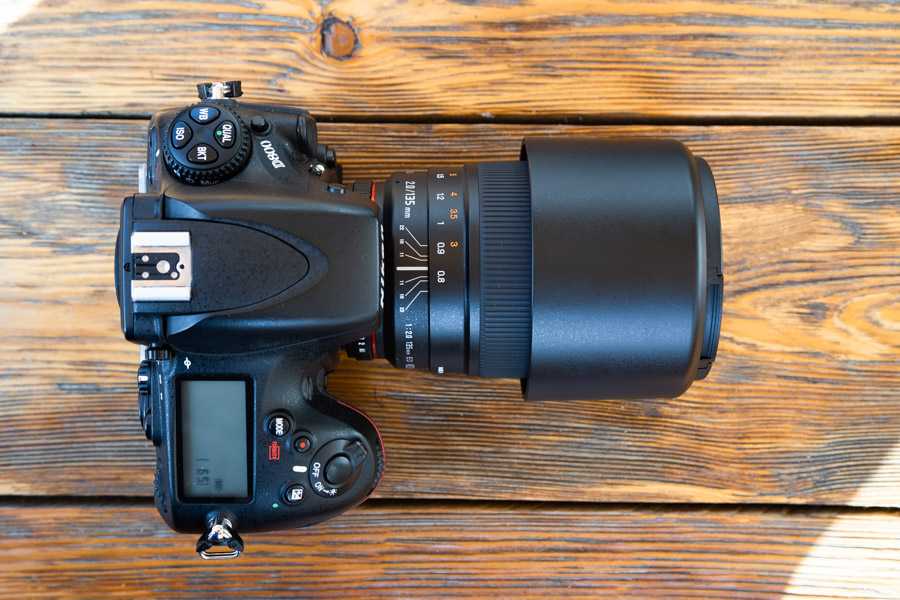
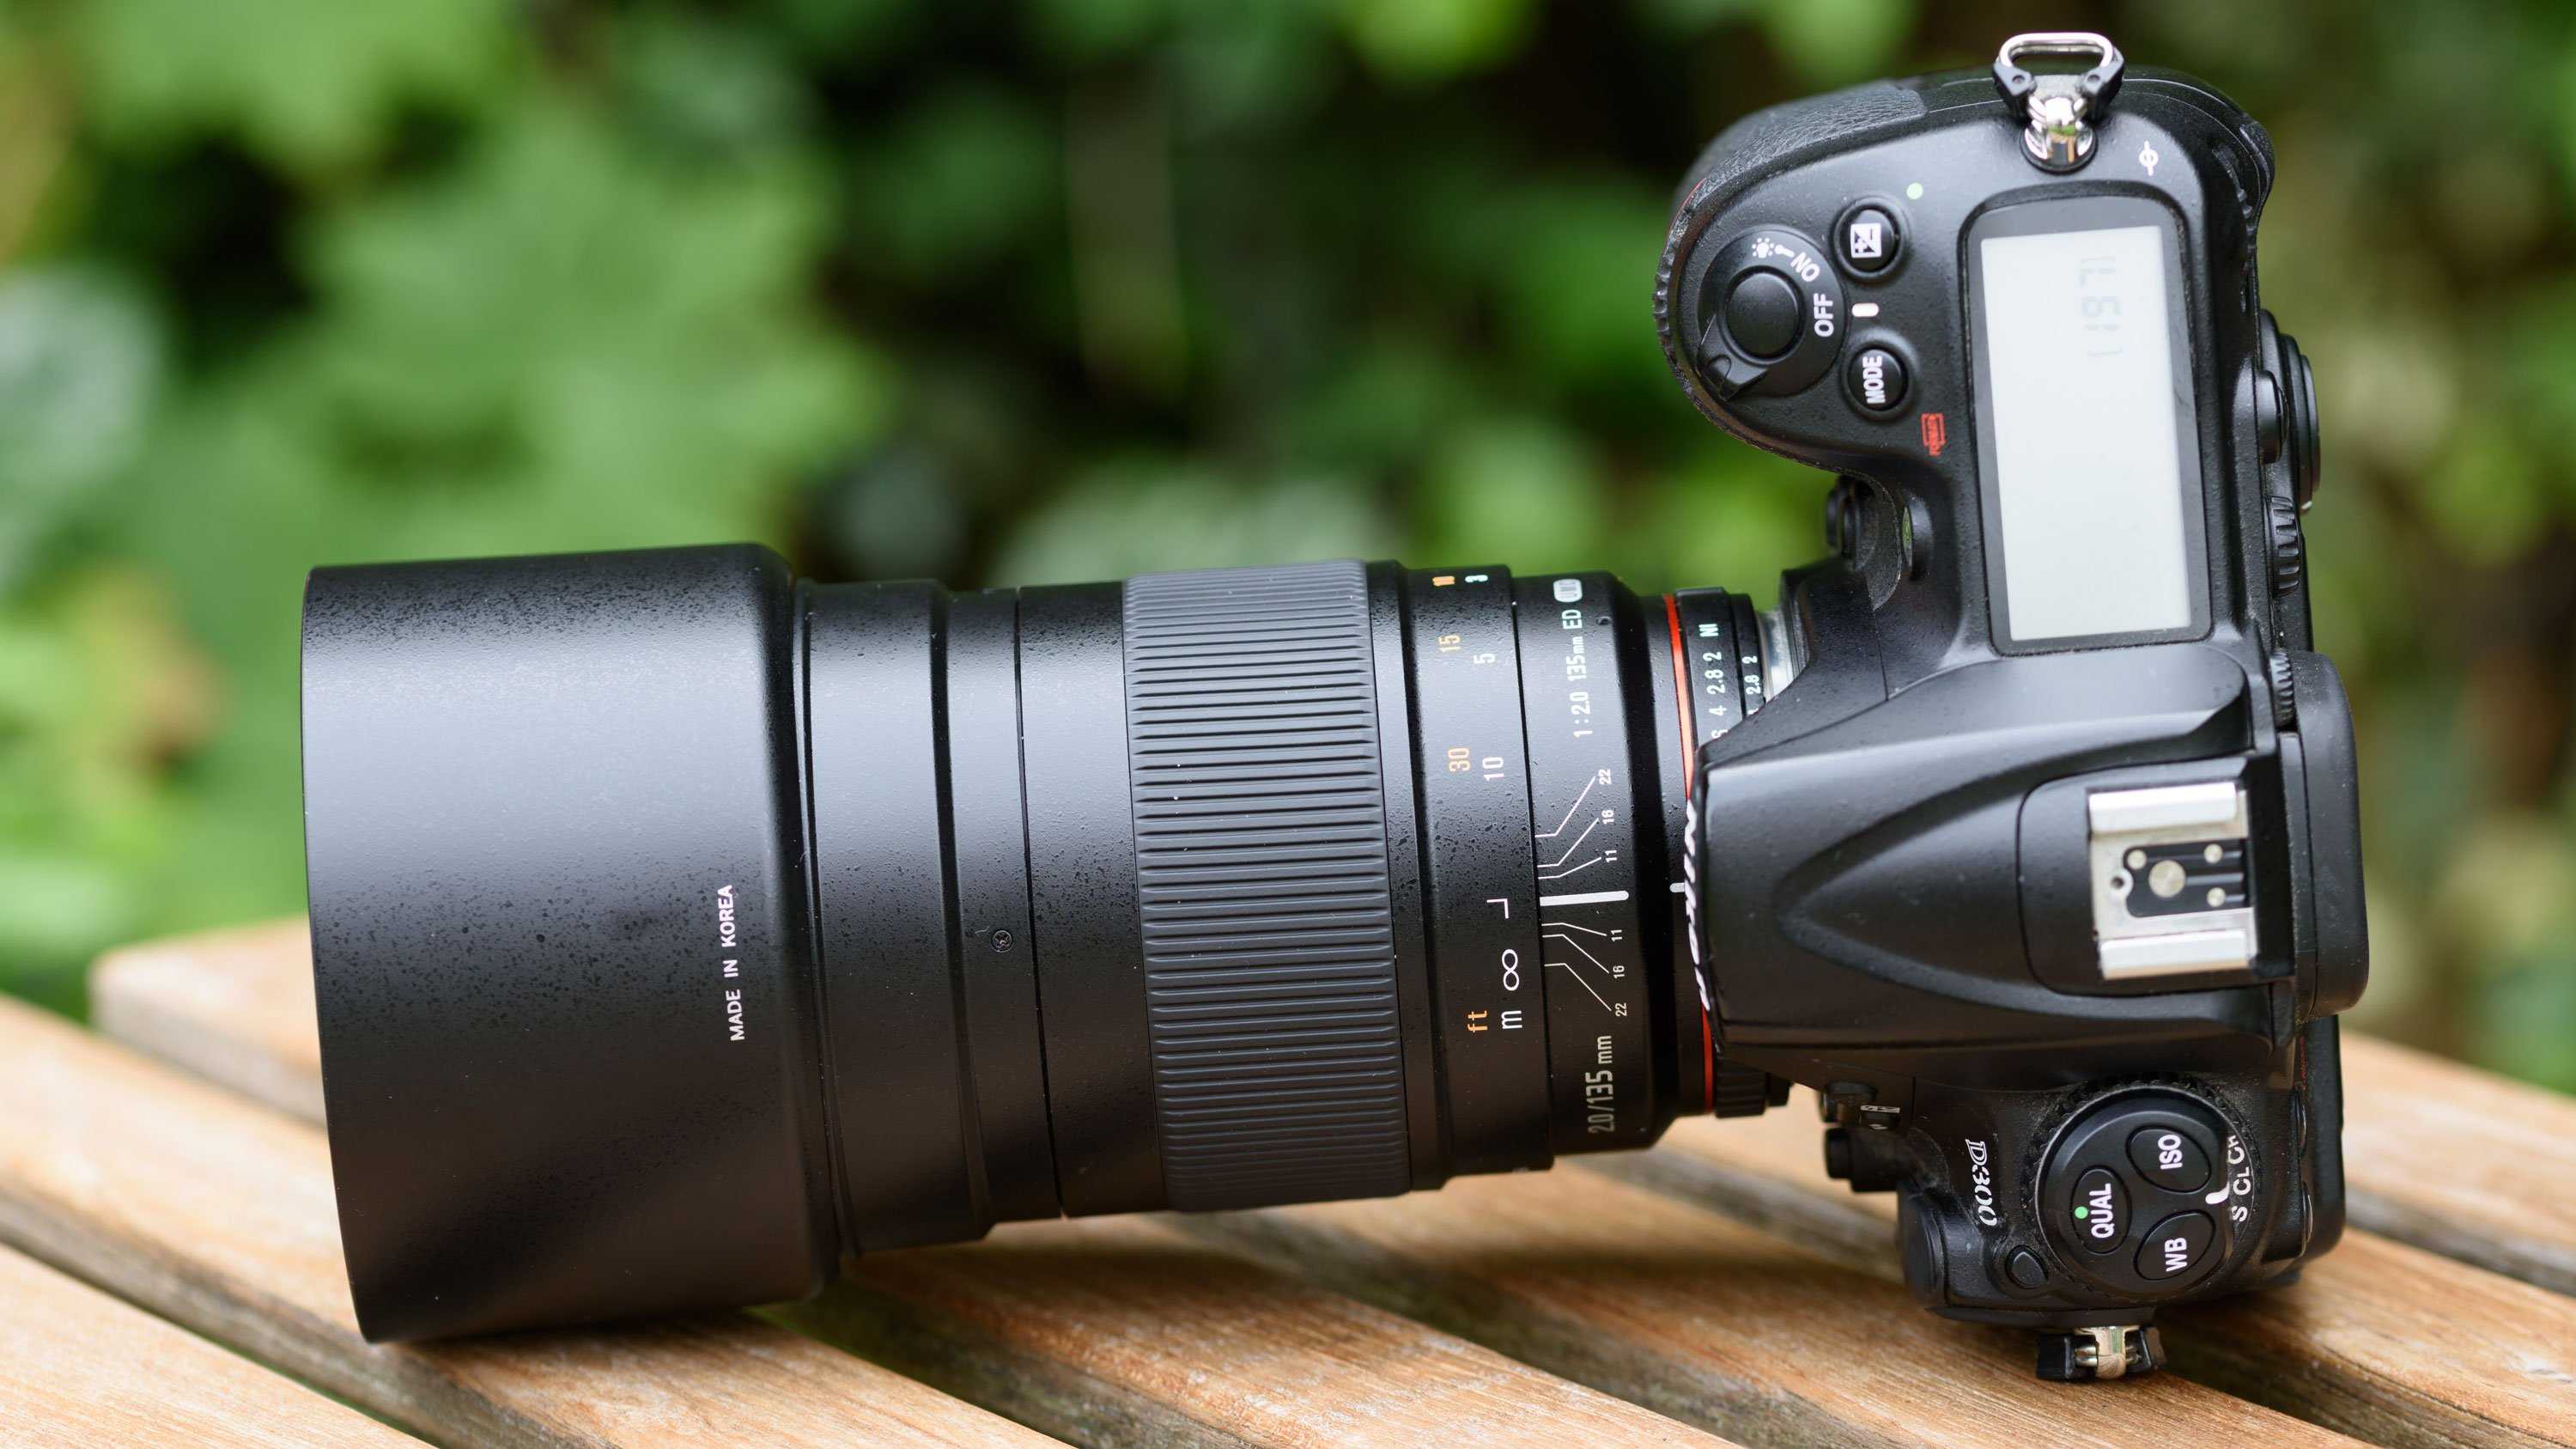
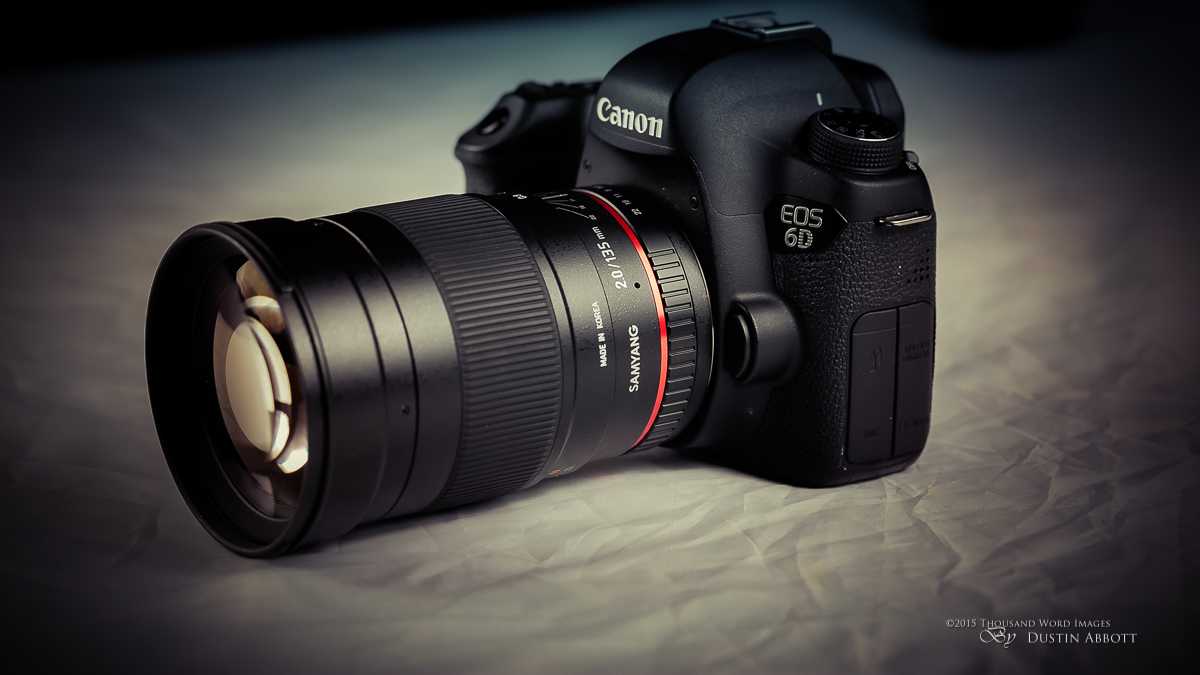
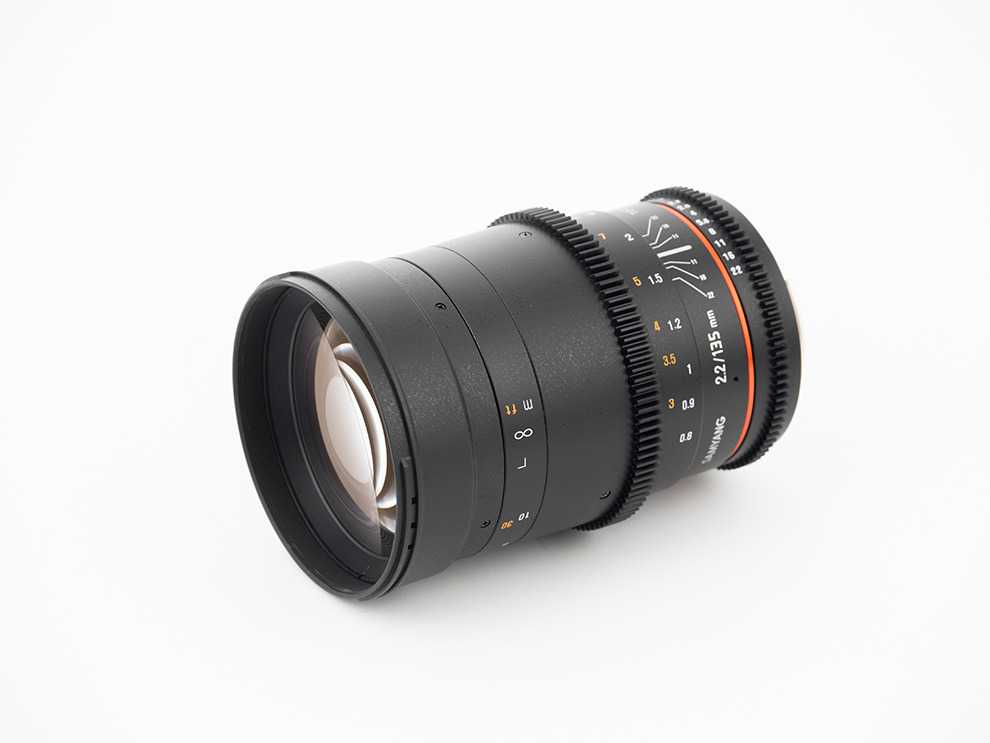
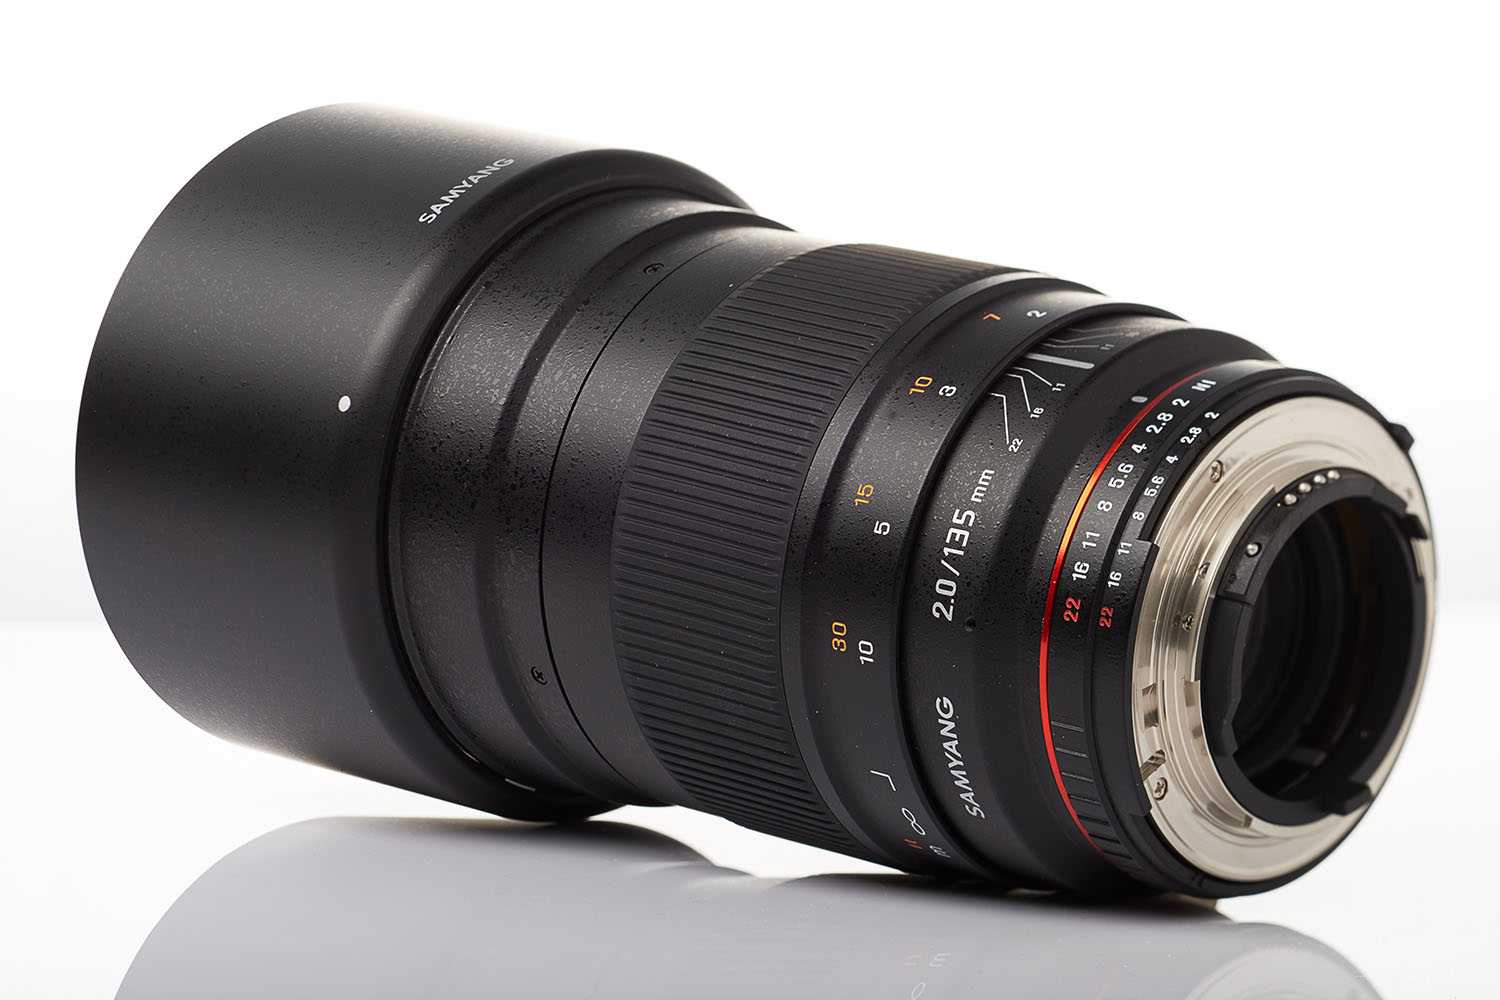
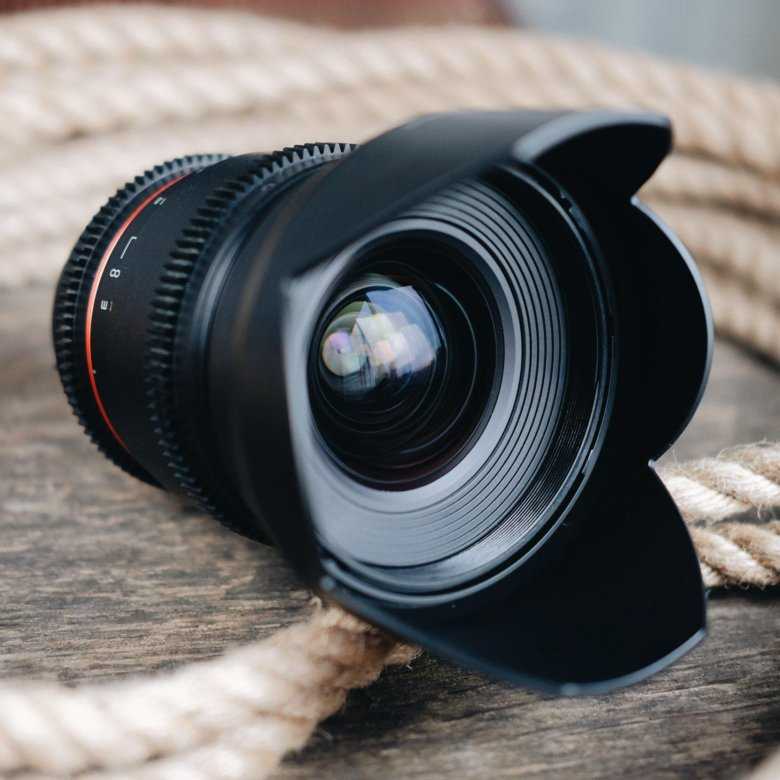
Build Quality & Features
By default, a 135mm f/2 lens design requires a lot of glass.
Glass is heavy and this lens is dense.
It feels substantial when you pick it up.
![]()
MFD |
∞
w/ Hood: MFD |
∞
Rotated
Compare »
While the Samyang 135mm f/2 Lens does not change overall size when focusing, the front and rear elements both shift backward within the lens barrel at infinity and forward at MFD.
The rear element travels a significant distance.
In use, you will not likely notice any of the movement as the camera covers the mount and the lens barrel shields the front element’s movement.
This lens is basic in appearance and very similar to the other Samyang lenses.
There are no buttons and no functions available that could make use of such.
The lens hood and other exterior barrel parts are made of quality plastic with exception of the aperture ring.
It is also made of plastic and it has worked fine for me, but I’m not yet ready to give that ring the «quality» qualifier.
The focus ring consumes much of the lens barrel and much of the focus ring gets the standard ribbed-rubber cover treatment.
![]()
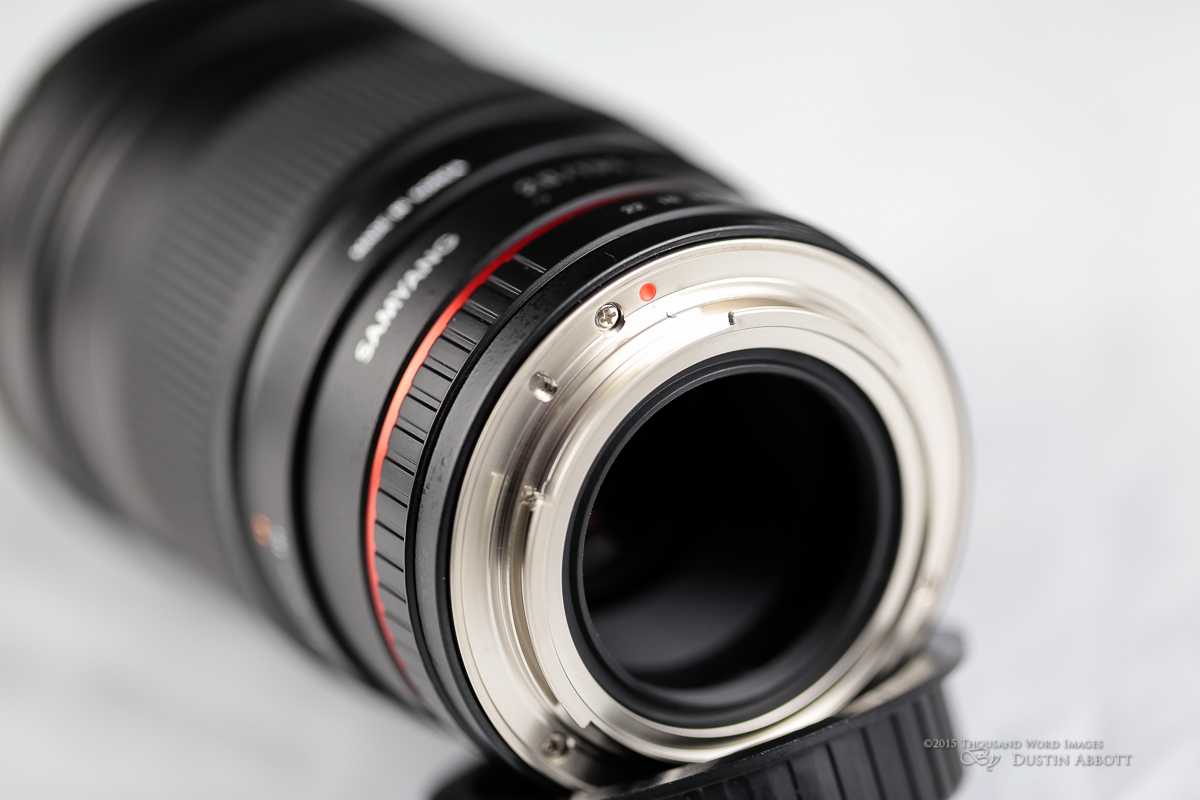
As generally determinable by the lack of a gasket at the lens mount, this lens is not weather-sealed.
The moving front element design could certainly be aided in this regard by a filter.
Even with that added protection, the lens should be covered if wet or dusty conditions possible.

While Samyang provides a mount alignment mark under the rear cap, I would appreciate this mark being visible from the side of the lens or when the cap is on.
As mentioned, 135mm f/2 lenses, due to their optical requirements, are not going to be lightweight additions to the kit.
Still, they are easily manageable and not too large.
And, the competing models are all similar in size and weight.
I included some 70-200mm lenses in the table below as these are a very popular options for covering the 135mm focal length, though with a 1-stop narrower max aperture.
| Model | Weight | Dimensions w/o Hood | Filter | Year | ||
| Canon EF 135mm f/2L USM Lens | 26.5 oz | (750g) | 3.3 x 4.4″ | (83.0 x 112.0mm) | 72mm | 1996 |
| Nikon 135mm f/2D AF DC Lens | 28.8 oz | (815g) | 3.1 x 4.7″ | (79.0 x 120.0mm) | 72mm | 1995 |
| Samyang 135mm f/2 ED UMC Lens | 29.3 oz | (830g) | 3.2 x 4.8″ | (82.0 x 122.0mm) | 77mm | 2015 |
| Zeiss 135mm f/2.0 Apo Sonnar T* Lens | 32.8 oz | (930g) | 3.3 x 4.3″ | (84.0 x 108.0mm) | 77mm | 2012 |
| Canon EF 70-200mm f/2.8L IS II USM Lens | 52.6 oz | (1490g) | 3.5 x 7.8″ | (88.8 x 199.0mm) | 77mm | 2010 |
| Nikon 70-200mm f/2.8G AF-S VR II Lens | 54.4 oz | (1540g) | 3.4 x 8.1″ | (87.0 x 205.5mm) | 77mm | 2009 |
| Sigma 70-200mm f/2.8 EX DG OS HSM Lens | 50.5 oz | (1430g) | 3.4 x 7.8″ | (86.4 x 197.6mm) | 77mm | 2011 |
| Tamron 70-200mm f/2.8 Di VC USD Lens | 51.9 oz | (1470g) | 3.4 x 7.4″ | (85.8 x 188.3mm) | 77mm | 2012 |
For many more comparisons, review the complete Samyang 135mm f/2 ED UMC Lens Specifications using the site’s Lens Spec tool.
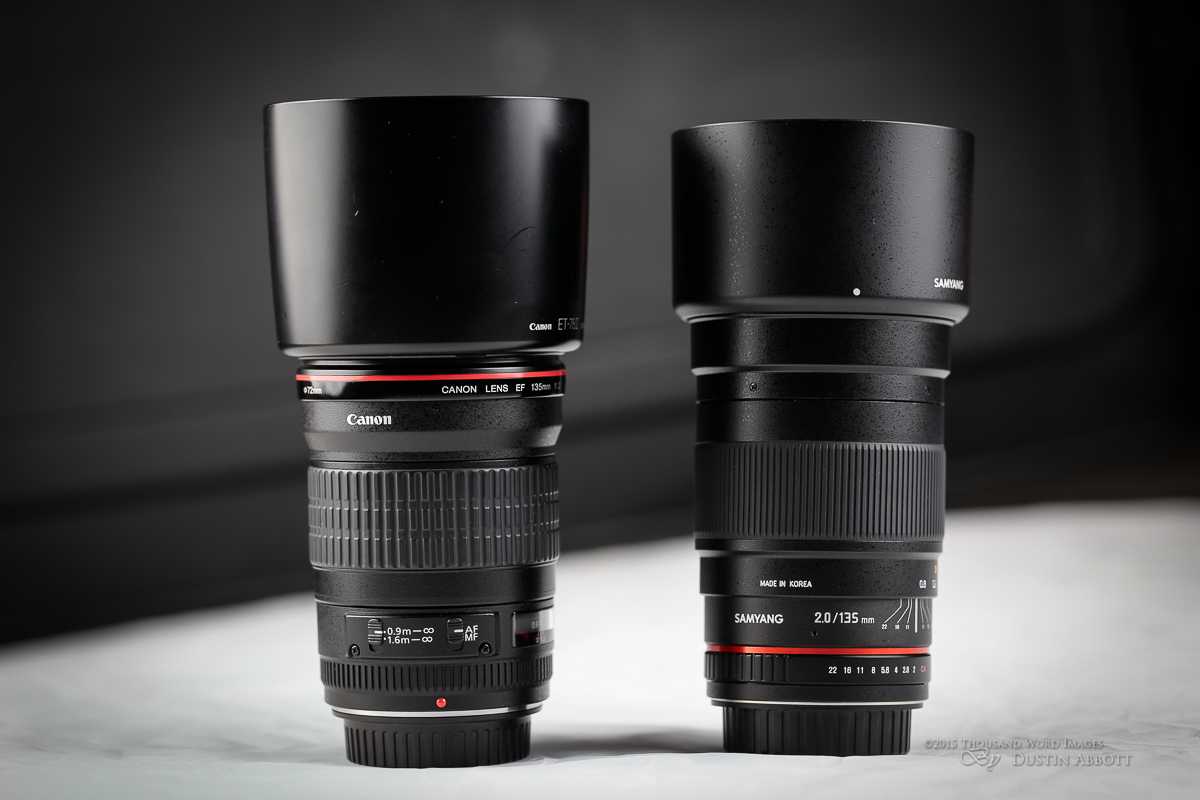
As photographers, we tend to be highly visual and a comparison image makes size differences especially clear to us.
![]()
Positioned above from left to right are the following lenses:
Zeiss 135mm f/2.0 Apo Sonnar T* Lens
Canon EF 135mm f/2L USM Lens
Nikon 135mm f/2D AF DC Lens
Samyang 135mm f/2 ED UMC Lens
The same lenses are shown below with their hoods in place.
![]()
Use the site’s product image comparison tool to visually compare the Samyang 135mm f/2 ED UMC Lens to other lenses.
I preloaded that link with a comparison that you might find interesting.
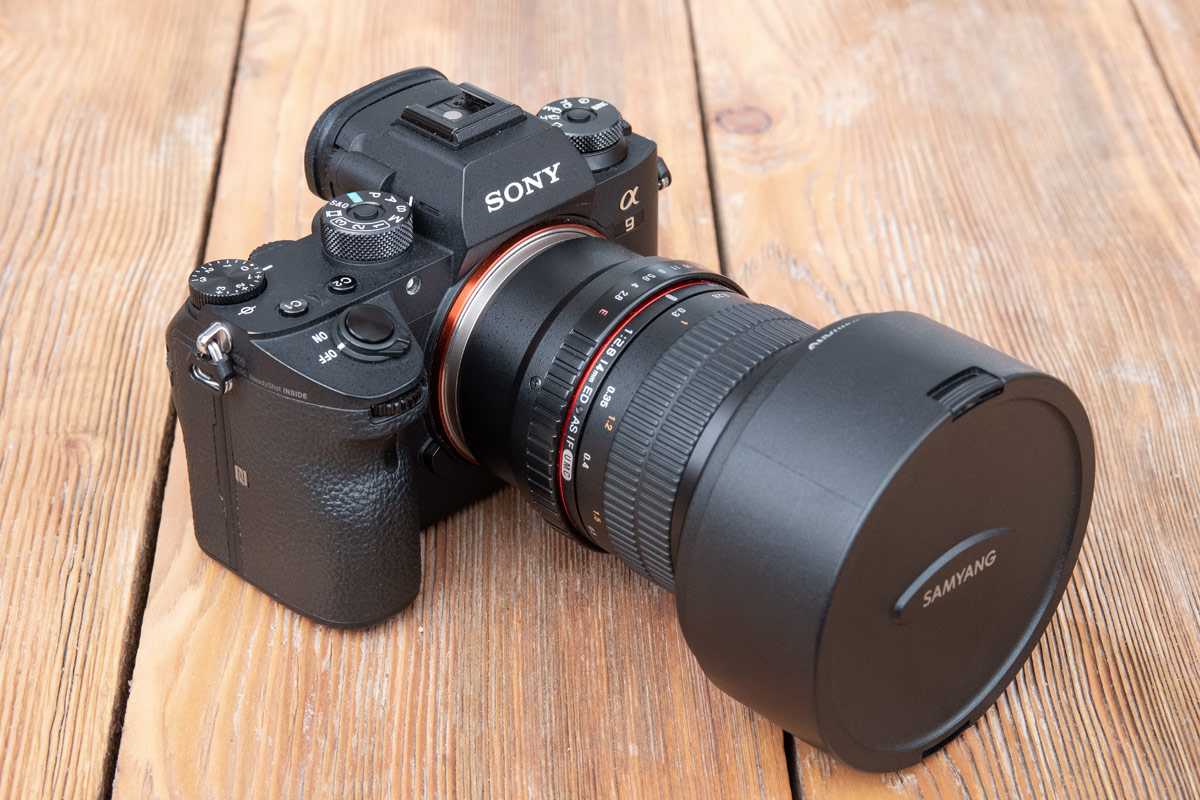
The Samyang 135mm f/2 Lens utilizes the ultra-popular 77mm filter size.
While not small, these filters are frequently able to be shared with other lenses in the kit if necessary.
![]()
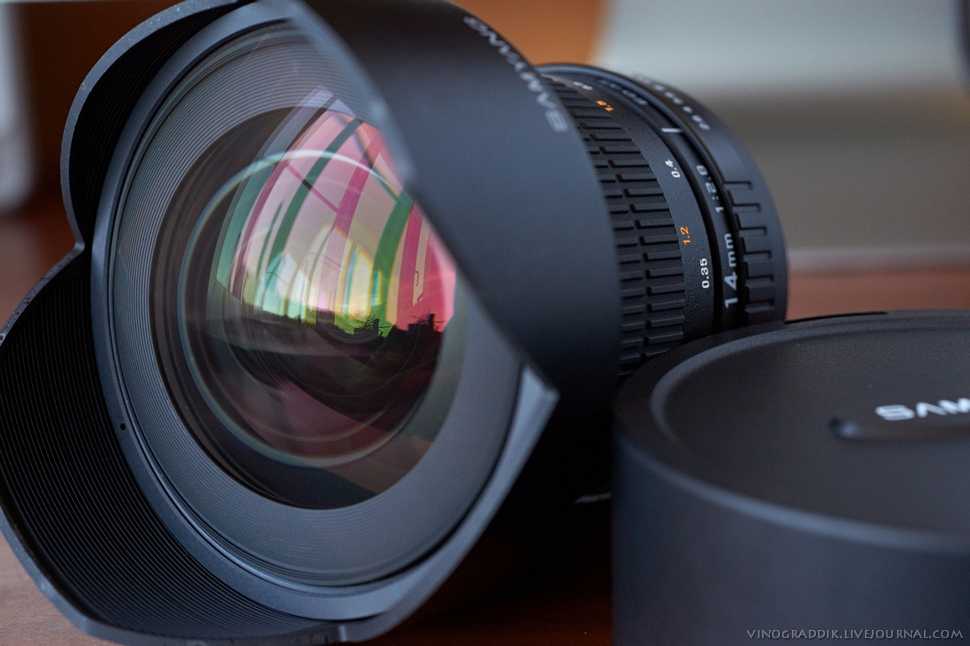
Samyang includes the lens hood in the box.
This seemingly very durable matte plastic hood (inside and out) is substantial in thickness, making it quite rigid.
The hood provides significant protection to the front element, including from light, impact, finger prints, etc.
![]()
Samyang also includes a simple lens pouch in the box.
![]()
And, here is that box:
![]()
![]()
Практика использования
Объектив большой и достаточно тяжелый. Мы тестировали его с Nikon D800 и на этой камере он вполне удобен. А вот для беззеркальной Nikon Z7 уже немного тяжеловат. Но работе это не мешает.
На моделях объектива с байонетом Nikon F управление диафрагмой осуществляется с камеры.
Объектив Samyang 135mm F2.0 прекрасно подходит для съёмки портретов.
![]() 1/1250, f/2, ISO 200
1/1250, f/2, ISO 200
С таким фокусным расстоянием перспектива сжимается, что позволяет визуально приблизить фон к объекту съёмки. Это может и должно использоваться как художественный приём.
Автору статьи было очень интересно экспериментировать с перспективой. Ниже один из примеров такой съёмки.
![]() 1/1600, f/2.8, ISO 100
1/1600, f/2.8, ISO 100
Второй плюс от фокусного расстояния – возможность размыть фон даже на закрытой до f/5,6 или f/8 диафрагме. Конечно, всё зависит от расстояния до объекта съёмки, но снимая погрудный портрет эти значения позволяют заметно размыть фон.
При съёмке ростового портрета фон можно размыть даже при диафрагме f/2.0.
![]() 1/5000, f/2, ISO 100
1/5000, f/2, ISO 100
Резкость изображения отличная уже при диафрагме f/2.8.
![]() 1/2000, f/2,8, ISO 200
1/2000, f/2,8, ISO 200
Посмотрите увеличение ниже.
![]() 1/2000, f/2,8, ISO 200, 100% увеличение
1/2000, f/2,8, ISO 200, 100% увеличение
При всём этом высокая резкость объектива не портит портреты, а переход в зону нерезкости очень мягкий и приятный.
Наводиться на резкость легко, кольцо фокусировки большое, ходит плавно, а камера отображает индикатор фокусировки.
Трудности могут возникнуть с малой глубиной резкости. Например, при расстоянии до модели 2 метра и диафрагме f/2.8 глубина резкости всего 3 см. Соответственно, даже при небольшом смещении модели вы промахиваетесь.
С другой стороны, вы можете закрыть диафрагму до f/5.6 или даже f/8, что даст большую глубину резкости и при этом фон останется размытым.
Max Aperture
An f/2 aperture is very wide for a 135mm lens – the widest available and 1 stop wider than the widest zoom lens covering 135mm.
A big advantage of a wide aperture is the amount of light transmitted to the sensor, allowing for shutter speeds capable of stopping both camera and subject motion blur in low light.
A perhaps more commonly appreciated wide aperture advantage for a manual focus lens is the shallow depth of field availed, permitting background distractions to be reduced or eliminated via blur.
With a minimum focus distance subject, we see the maximum blur potential of this lens along with the difference between apertures in the following example.
![]()
f/2.0 |
f/2.8 |
f/4.0 |
f/5.6 |
f/8.0 |
f/11.0 |
f/16.0


Is there a difference between f/2 and f/2.8? Absolutely.
And, if you are using a lens with an f/5.6 max aperture at 135mm (including some of the kit lenses), the difference is huge.
The strong f/2 background blur never grows old and sets images apart from the crowd.
As mentioned in the beginning of this review, this is a manual aperture lens.
While the camera’s autoexposure system can still be used, the aperture is *always* manually set via an aperture ring located near the lens mount.
The camera’s Tv mode will work the same as full manual mode.
You can change the shutter speed, but the aperture ring will also have to be manually turned to affect the final exposure.
Note that the (unchipped) lens will not report the selected aperture to the camera and the aperture setting will not be recorded in the captured image’s EXIF information.
While the camera’s autoexposure can be used, I found it to be inaccurate at stopped down apertures (overexposing) using the unchipped lens.
When performing lens tests, I am frequently stepping through the available apertures to identify image quality changes.
Using Av mode (I pick the aperture and the camera selects the shutter speed) often makes this process easy, but not in this case.
The site’s standard vignetting results are captured utilizing Av mode and the brightness difference showing at f/8 is especially obvious.
My Samyang 135 experience has been great using manual exposures, though AE mode can be successfully used if +/- exposure compensation and a very narrow range of apertures are being used.
Keep in mind that using manual exposure mode can be challenging if shooting under rapidly changing light conditions.
The aperture adjustment is easy (simply turn the aperture ring), but you need to know that click stops are in 1/2 stop increments.
If you are used to making 1/3 stop adjustments in-camera (often the default), care must be taken to match manual exposure adjustments (shutter speed and ISO) to those made on the lens.
Adjusting three clicks on the camera and three clicks with the ring is what my mind wants me to do.
Depth of field preview is always enabled on the Samyang 135.
With a manual aperture implementation physically closing down the aperture, the viewfinder (or Live View) is always showing the stopped down view (unless f/2 is selected of course).
While seeing the actual depth of field at the selected aperture can be advantageous, a certain downside is the darkened viewfinder provided at narrow aperture settings.
At f/2, the viewfinder is bright.
At f/5.6, there is noticeable darkening and it continues to darken as the lens is stopped down further.
My preference is to compose (for the brighter viewfinder) and focus (better precision with a shallower DOF) with the aperture set to f/2, then adjust the aperture to the desired setting prior to photographing.
![]()